|
John F. Kennedy was president. It was a warm month in Minnesota. The latest frost date on record for the Twin Cities is October 29, 1963. The Minnesota Vikings lost to the St. Louis Cardinals 14 to 56 on October 6th 1963. Two weeks later they lost to Los Angeles. October Top 40 for 1963 included;
From Russia with Love with Sean Connery and Daniela Bianchi premiered in London and Barefoot in the Park premiered in New York City. The Group by Mary McCarthy was the New York Times Best Seller for October 1963. Other popular books from 1963 included Happiness is a Warm Puppy by Charles M Schultz and The Feminine Mystique by Betty Friedan. The October 1963 Workbasket Magazine was in black and white had four crochet patterns. Zip codes had been introduced in July of 1963 but this issue doesn’t have one in the address. They weren’t required for bulk mailing until 1967. 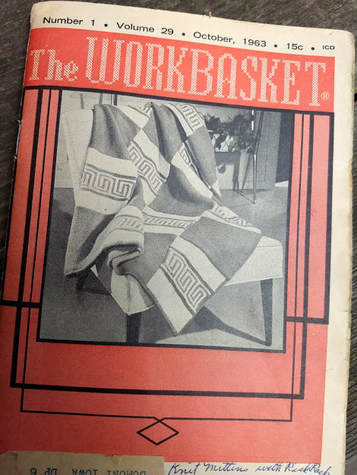 This month both of the choices are done in crochet thread instead of yarn. Holly Glass Muffs 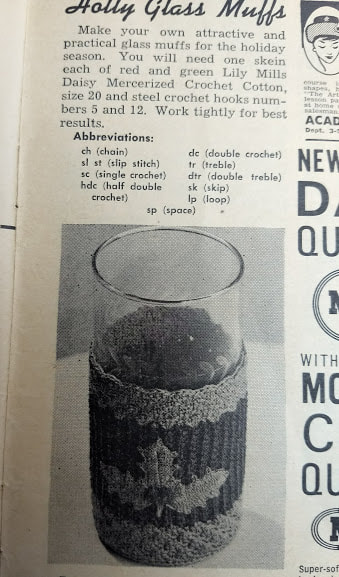 This pattern is done in size 20 crochet cotton with two strands held together. I’ll try it with a single strand of size 10 crochet cotton. Petal Doily 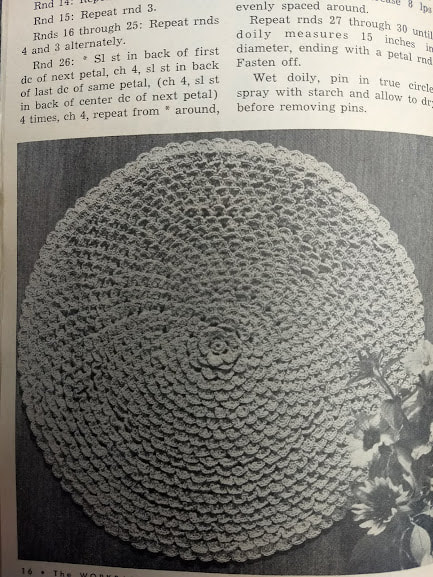 The Petal Doily is done in Knit Cro-Sheen metallic thread. I believe this is the same as size 10 crochet thread. If this is chosen I won’t do the entire doily. I’ll continue through the pattern until it’s roughly seven inches across.
Time to vote! Glass Muffs or the Petal Doily?
8 Comments
This isn't a post about a vintage pattern but since this is Craft Across Time I'll occasionally have a few things from the present. This is a post about making a Death Star. A few months ago someone asked me if I could make a Death Star; preferably a big one. It seemed like that would be pretty simple. It’s basically just a sphere with a dish area and some details. So I agreed to make one. This My process usually starts out with seeing if anyone else has made the requested item because why reinvent the wheel? In this case, Pops de Milk has an excellent post about how she created her pattern. I followed that same process with a change for the Superlaser. I started with the sphere calculator. You enter the number of stitches you want in the circumference and it gives you the pattern to get there. That was pretty easy but I wanted to make an actual dish instead of adding a flat piece to simulate the Superlaser so I had to come up with a way to get the yarn to dip into the stuffing and look like a dish. I left a rough opening in the size I wanted the dish to be as I worked the sphere and then came the hard part. How do I get the dish to look like a dish? This was my first try: 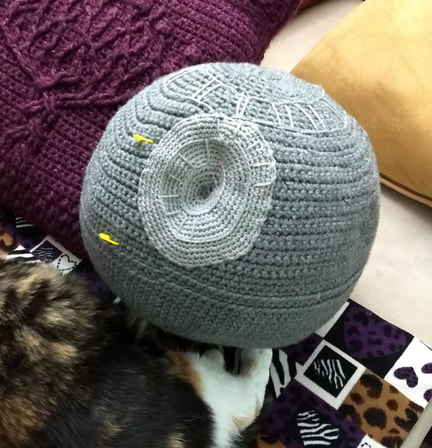 I made a round piece and sewed it in and then pulled yarn through the center of the dish and secured it on the other side. This ended up looking more like a Sarlacc pit than a Superlaser. Not a great look for a Death Star. Plus this made a divot on the other side which made it look like someone ran into the Death Star on the other side and left a dent. I needed something with more structure that would hold the shape. I decided I'd try to find a piece of plastic in a dish shape that was the right size for the opening. Off to the grocery store I went and wandered around the store trying to find something with a plastic lid that would work and I went home with two possibilities: Oikos Crunch yogurt and Sabra Hummus with pretzels. The lid to the Oikos Crunch seemed like it would be the perfect fit. I reworked the crocheted circle so it would fit the lid and glued it in. 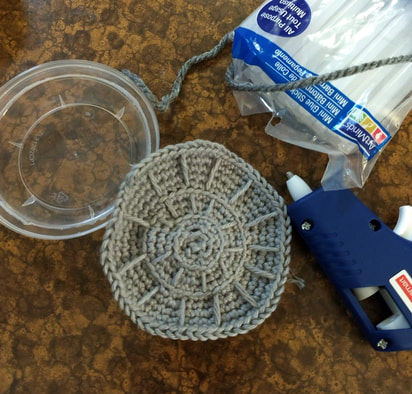 Then I sewed the dish into the opening of the Death Star and ended up with this. 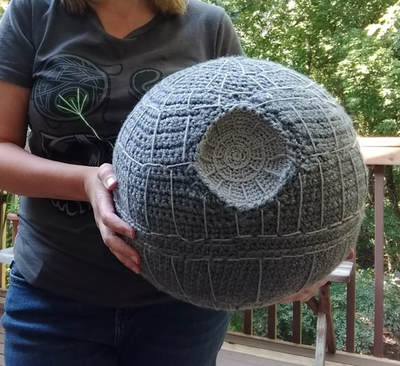
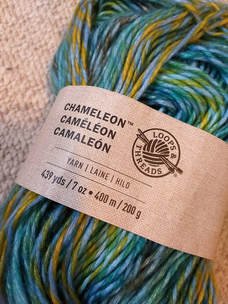
I love how the plastic lid worked in this and I have the Sabra lid as a back up lid if I decide to make another one. Next week we're headed to the 60s again. It will be the year the Beatles released their first album and the year the first episode of Doctor Who is broadcast. 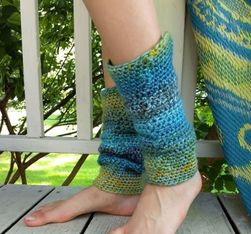 About the pattern The pattern is very short and simple. Chain 30, join with a slip stitch to form ring, ch 2, do not turn Row 1: Sc in each ch, join with a slip stitch in top of ch-2, ch 2, do not turn. Row 2 – 9: Repeat row 1. Row 9: with larger hook, ch 2, hdc in each sc across, join with slip stitch in top of ch 2, ch 2, turn. Repeat row 9 to length desired, after last sl st, ch 2, do not turn Top Edge: Continuing with larger hook, *sc in each hdc across, join with a slip stitch in top of ch 2, ch 2, do not turn. Repeat from * until 10 rows are completed. Fasten off. How it went: For the first pair I made one simple change: I started with a foundation single crochet so it would have a little more stretch than a chain stitch. Moogly has a great tutorial for foundation single crochet stitch. Version 2: After they were finished I didn’t think there was enough stretch in the cuffs so decided to change the cuff area to have ribbing. There are a few different ways to make ribbing. You can make vertical ribbing by alternating front and back post stitches or alternating post stitches with a regular stitch. You can make horizontal ribbing by working in the back loop in rows. Then you would join the beginning row and end row to make a tube. Because the yarn is patterned I thought it would look better with ribbing going in the same direction as the rest of the leg warmer. Shibaguyz have an excellent tutorial on vertical post stitch ribbing along with descriptions and tutorials for other ways to make ribbing. I also changed the main part of the leg warmers . I decided that the ridge turning every row made wasn’t necessary in the multicolored yarn and just went in one direction with the half double crochet stitches. 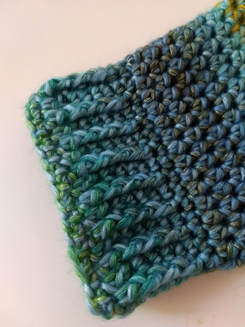 How it turned out. Even after the second pair I’m not super excited about how these turned out but Ravelry has over 1000 patterns for leg warmers so head over there for patterns for leg warmers and boot cuffs. Many of them are free. Even the August 2018 issue of Simply Crochet Magazine had a pair done in small motifs. 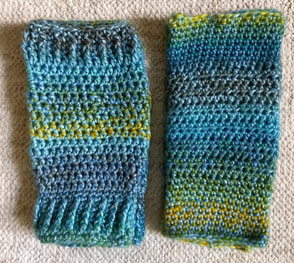 What I learned:
I was reminded how little stretch some crochet stitches have and learned several different ways to make ribbing. Next week I’ll share something I made that isn't a vintage pattern but it is from a long time ago in a galaxy far, far away... The September issue had some great photos and questionable ad but one of my favorite sections each month is Making Cents. Making Cents has reader submissions for crafts that they make and sell. This issue has
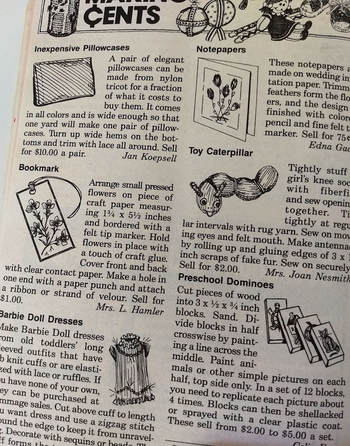 Here are my favorite photos from the issue: 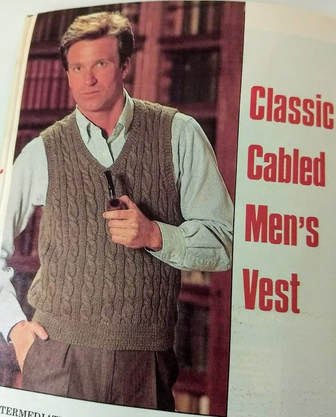 The Men’s Classic Cabled Vest. I love the library background matched with the pipe because what else would you pair with a classic cabled vest? 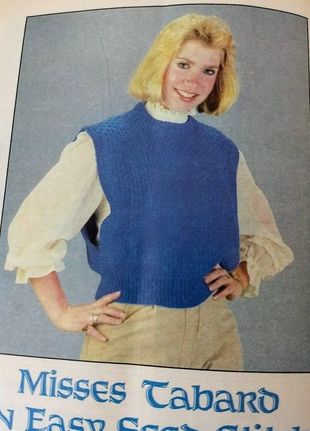 The Misses Tabard in Easy Seed Stitch has classic 80s hair along with the pirate sleeves on the blouse. And here is the questionable ad 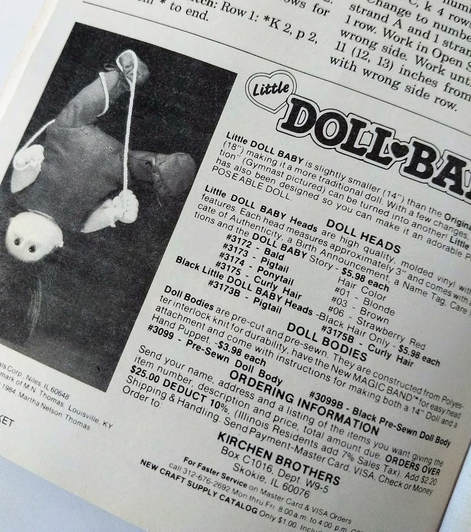 The ad says that this is a gymnast doll but it's upside down with a rope around her leg. Is that some sort of gymnastic event I'm not aware of?
Next week I’ll have the finished leg warmers up along with a second version where I made some changes to the pattern. The leg warmers won. It such a classic 1980's accessory I'm surprised it didn't win by more. 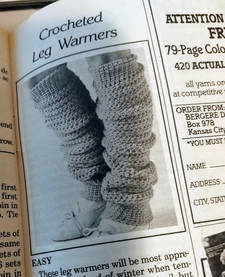 About the materials: Calls for:
 This pattern is rated “Easy” by Workbasket Magazine and it does look very easy. It’s eight rows of single crochet worked in a circle with the smaller hook, then half double crochet in the middle section to the length you want, finishing with another ten rows of single crochet. This pattern might be easy to make but I already see an issue with the pattern. There isn’t that much stretch in a single crochet for the top and bottom sections. To help with that a little bit I’m going to start with a foundation single crochet. Foundation stitches are a little stretchier than a chain stitch. I’ll still make the rest according to the pattern and we’ll see how it goes. Here's your bonus photo of a pattern that didn't make it to the final two for a vote this month. Can you guess why? 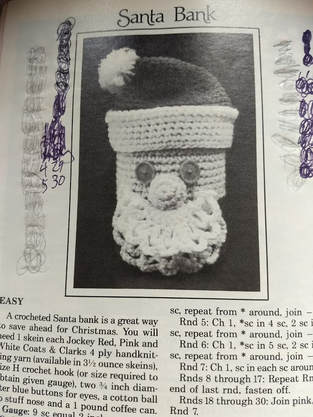 |
Proudly powered by Weebly