|
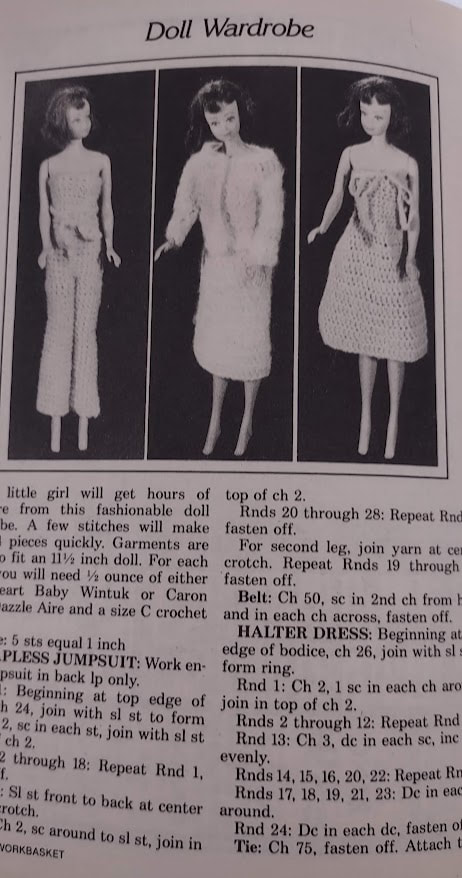
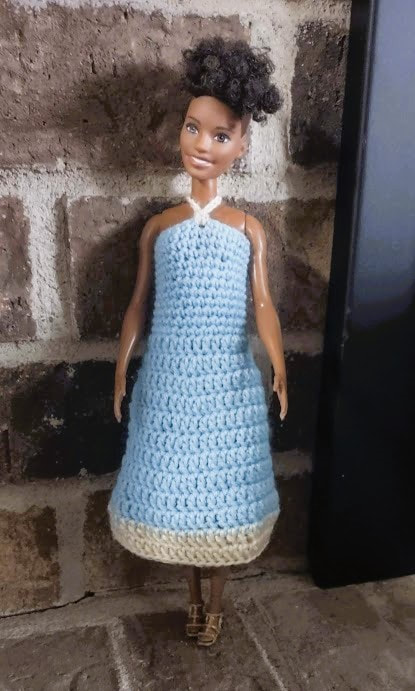
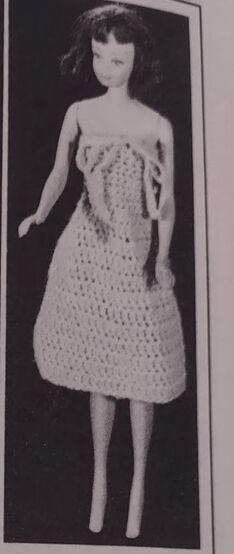
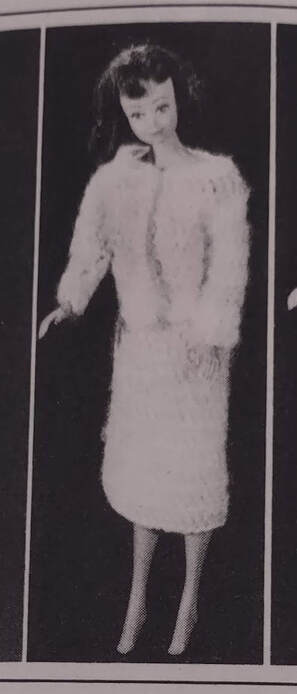
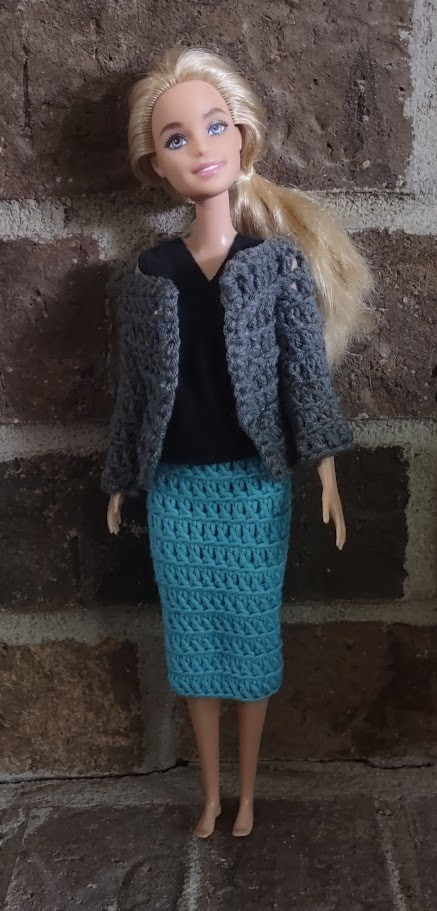
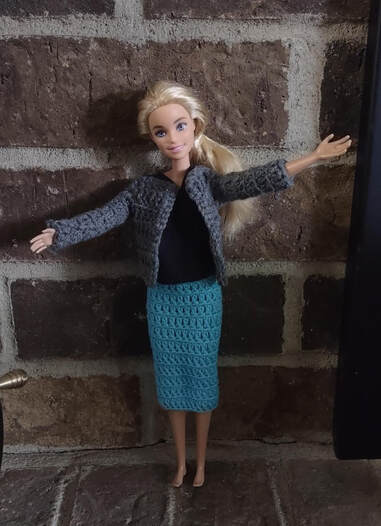
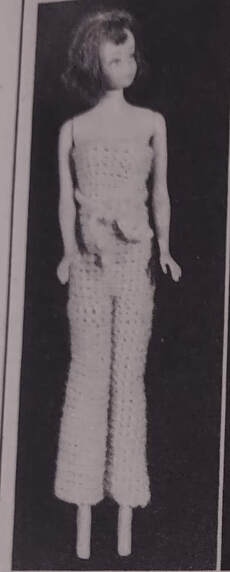
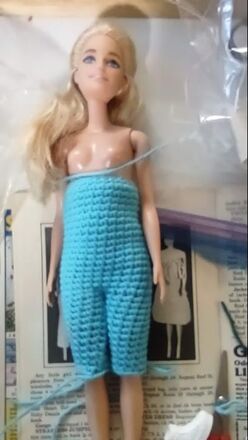
This week you get three outfits in one post. The January 1984 Workbasket Magazine has three patterns under the title "Doll Wardrobe"; a strapless jumpsuit, a halter dress and a two piece suit. Let's call this experience the good, the bad and the wtf is this. Buckle up, this is a longer post because I have things to say about these patterns. Here are the magazine photos. They don't look great but they don't look terrible either. It looks like it's mostly double crochet so it should go pretty quickly and to be fair, it does go pretty quickly. I made one per evening. I'm using the Fashionista dolls for the modeling because I need to use the smaller dolls for these outfits. You'll see why. The pattern says you need 1/2 ounce for each pattern of either Red Heart Baby Wintuk which is a 3-ply fingering weight yarn or Caron Baby Dazzle Aire which is a worsted weight yarn with a lot of halo. So, they're telling me to use either a fingering weight or a worsted weight? The worsted yarn may be categorized like that because of the halo so I'll try to give them some grace here. At least the pattern gives a gauge of 5 stitches to one inch so I have something to go by. I tried a fingering weight yarn but that was too small. I moved up to a sport weight yarn (Premier Cotton Fair for the second two patterns) and got the gauge right with the recommended C hook. I'm going to do these in order from best to worst. Good: The Halter Dress I had a scrap of unknown light blue yarn that I got the gauge with so I used that for this dress. Many of the doll patterns I've made make size adjustments around the chest to make it fit better. This one didn't. It starts out from the top down as a tube in single crochet, then increases a few stitches at the waist and changes to double crochet for the dress. Fairly simple to crochet and in this case the directions were ok. There is one part where it tells you to increase by four stitches evenly instead of saying something like "dc 5, inc, dc 6, inc, repeat around". The tie in the photo just has a bow on the front of the dress and the directions say to attach it with a single knot under the first round in the center. There was no way this would stay up without it actually being a halter top so I tied it around the neck. Here's the photo of the finished version. I did weigh my yarn to start with and had slightly more than the half ounce but I still ran out and had to do the hem in a different color. My version seems a little longer but it was a tight fit on the top. The Bad: The Two Piece Suit The skirt wasn't so bad on this one. Again, this patten mostly a tube that's joined in the back after each round and it's all done in the back loop only. There are a few increases in round 2 but after that it's just double crochets in the back loop to round 12 and it's done. There isn't anything wrong with this but it is tight to get on. Most of the other skirts have a small opening in the back with a snap or closure of some kind to get it over her hips. The jacket was more of a problem. It starts out with chain 30 and double crochet in the second chain from hook. It's hard to do a double crochet in the second chain from the hook. I'm pretty sure they mean third chain since when I got to row six, I was one stitch off. The pattern has you double crochet alternately in the front loop and back loop for the next couple of rows until you get to "Rnd 6" (These are actually rows, not rounds - this is the only pattern in this group that isn't a tube. I don't know why they're still calling them Rnds.) Row 6 is where I figured out that I was off a stitch because it's the first time I can get a stitch count aside from the chain row. This row has you dc in next 6, chain 6 skipping 3 dc, dc in each of next 9 dc, chain 6 and dc in last 7 dc, chain 3 and turn. Technically this works but it would have been nice if they had ended it with; chain 6, skip 3 dc, dc in last 7 dc. Row 7 wants you to dc in next 5 dc, (skip 1 dc, dc in next dc) twice but those aren't double crochets there, it's the chain 6 from the previous row. I tried it with the assumption that they did really mean dc there but I ran out of stitches. This should just read; dc in next 5 stitches, (sk 1 stitch, dc in next st) and so on. Row 6 is the last row of the body of the jacket. Now we'll move on to the sleeves. The sleeves have you join on the inside of the armhole and then work double crochets in the front loop only. I chose to join on the right side of the armhole and work in the back loop because I find it easier to dive in between the loops than to pick up the front loop. The directions say to dc around but don't tell you have many stitches they think that is. The armhole is made of three double crochets at the bottom of the armhole, a dc on each side that you would crochet into the side of and dcs and chains that you skipped in Row 7. I decided to make 3 dc on the top and bottom and 2 on each side. This would turn out to be the wrong thing to do. I should have done more stitches on the top or sides because in Round 2, 3 and 4 you're asked to skip a stitch in each row. I started with a tube of 10 double crochets. If I skipped a stitch in three rows I'd never get Barbie's hand in the sleeve. It was a struggle with the tube of 10 stitches! There is a border of single crochets but it doesn't help the fit at all as you can see in the photo below. The WTF: The Strapless Jumpsuit. This is truly a tube at the top and two tubes for legs. Barbie is not a tube though and based on how hard the halter dress was to get on I knew this would be difficult before I even began. The halter dress starts with a chain of 26, the jumpsuit goes two stitches smaller. It's worked from the top down and it seemed to be going ok but when I got to the legs I thought that they also seemed a little tight and then I got to the end of the instructions and wondered what happened to the rest of the pattern. The top is 18 rounds. Round 19 has you slip stitch across the center to form the crotch and then do one leg, cut the yarn and do the second leg. Seems ok but the pattern says the legs are rounds 19-28. That's 10 rounds. The top is 18 rounds. That's a very short leg. I took a close up of the magazine photo and I think that each leg is 28 rounds and they meant to start the count for the legs over at round 1 but missed that in editing. If they did edit this pattern. This one got ripped out. Here's the score: Is the pattern easy to understand? No. 0 If there was a gauge, could I match it? Yes, but I don't think that mattered. It was a tight fit anyway. I'll give it a point anyway 1 Does it look like the photo? The halter dress does, the skirt on the suit does, the jumpsuit does not. .5 Would Barbie wear this? There are four pieces and 2 are wearable .5 Did I enjoy making it? Does it count if I'm cackling while making because I'm thinking this will make a great blog post? Let's call it .5 Total score 2.5 If I were going to do these again, I'd move up another level on the yarn and try a dk weight and edge toward 4.5 stitches per inch to get a looser fit for the dress and the skirt. I'd skip the jacket. The jump suit might be salvageable with the dk weight and a few extra rows in the top and the legs. This is the worst Barbie pattern so far.
0 Comments
Leave a Reply. |
AuthorI'm from Minnesota and have been crocheting since 2003. I inherited a box full of Workbasket Magazines from my mother-in-law and became obsessed with the vintage patterns. Archives
June 2024
|
